One of the most emotionally expressive features I’ve been building recently in Hello, World. Goodbye. is a danmaku-style comment system — a tribute to NicoNico’s bullet comments and a way for players to silently scream into the void, or listen to what others once shouted.
🎯 Goal
Design a modular, smooth, high-performance danmaku (弾幕 / bullet comment) system that:
- Works independently of the main game camera (via a dedicated Viewport)
- Supports multiple content types (text, image)
- Distributes danmaku across tracks evenly or with focused styles
- Dynamically calculates spacing and avoids overlapping
🎬 Step-by-Step Construction
Step 1: Start Simple
We began with a simple RichTextLabel-based danmaku node, moving from right to left:
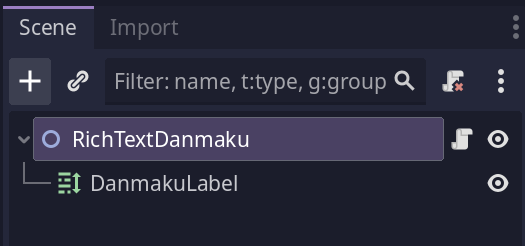
Then in the C# code attached add the following.
public override void _Process(double delta) {
    Position -= new Vector2(Speed * (float)delta, 0);
    if (Position.X + GetWidth() < 0) QueueFree();
}
This worked fine until we realized something odd — the danmaku appeared offset and at (width, 0) it still appears to be from somewhere odd.
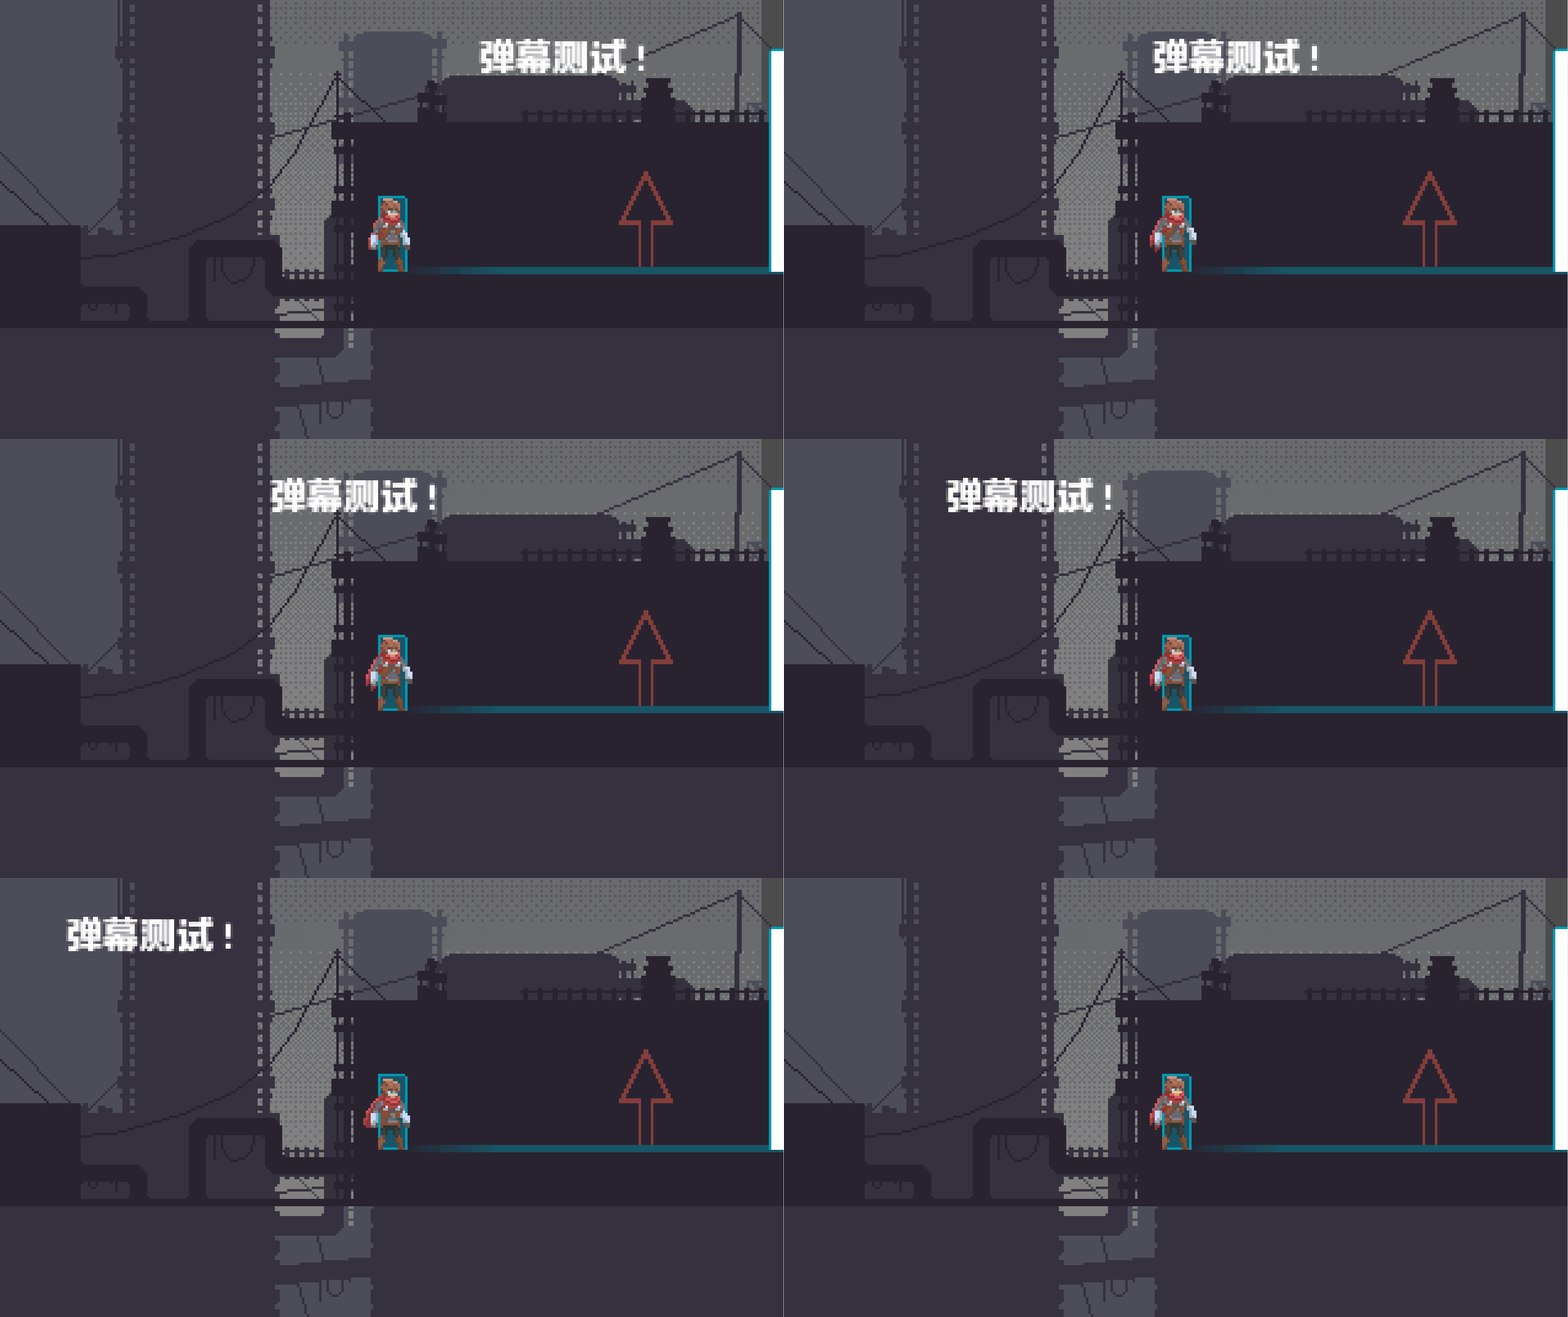
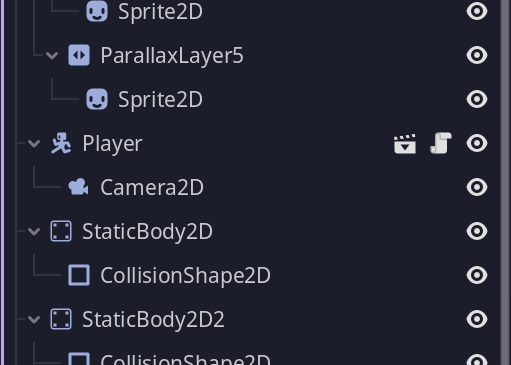
This danmaku not only is not playing from the correct location, it is also disappearing way too early. Why is that? It appears the player has a camera attached, and because of that, what we see on the screen does not map 1:1 to the real location. This is a problem.
Step 2: Decouple from Camera
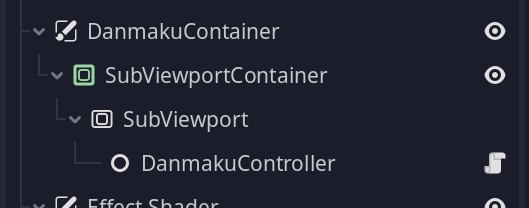
To solve this, we moved the danmaku system to a separate Viewport layer (640x360), unaffected by the main camera. Now comments would always start from the right edge of the screen, regardless of world movement.
Question: How Danmaku is distributed on the screen?
Using this example concert video on Bilibili, we can see a bunch of tracks on the screen with rolling Danmaku from right to left.

We can view the entire Danmaku as distributed in invisible tracks on the screen, as shown below.

Step 3: Add Track Manager
Next, we introduced a DanmakuTrackManager to manage rows (or tracks) and ensure danmaku didn’t overlap.
public class DanmakuTrackManager
{
    private readonly List<List<DanmakuTrackEntry>> _tracks;
    private readonly Node _danmakuLayer;
    private readonly int _trackCount;
    private readonly float _trackHeight;
    private readonly float _screenWidth;
    private readonly float _spacing;

    public bool IsTrackAvailable(int trackIndex)
    {
        var track = _tracks[trackIndex];
        if (track.Count == 0) return true;

        var last = track[^1];
        float lastRight = last.Entry.Position.X + last.Entry.Call("GetWidth").AsSingle();
        return lastRight + 20f < _screenWidth;
    }
}
The system auto-calculates track count and spacing based on the size of a sample danmaku (like RichTextDanmakuLabel).
Step 4: Add Distributor
We then implemented IDanmakuTrackDistributor to control how tracks are assigned. Two distribution modes were added:
Even Distribute: Round-robin fill
Focus Few: Stack into fewer rows for visual intensity
public class EvenDistributor : IDanmakuTrackDistributor
{
    public int GetTrackIndex(int danmakuCount, int trackCount)
    {
        return danmakuCount % trackCount;
    }
}
This is a simple round-robin distributor that assigns danmaku to tracks evenly. But in reality, we need to access the track manager to check if the track is available.
Step 5: Add Queue System
Normally when a bunch of danmaku is added, we want to queue them up and then distribute them all at once. This is useful for when we want to add a bunch of danmaku at once, like when the game system is triggered to add a bunch of danmaku at once.
public partial class DanmakuSystemController : Node, ISystemModule
{
    private Queue<DanmakuQueueEntry> _danmakuQueue;
    private DanmakuTrackManager _trackManager;
    private double _lastSpawnTime = 0;

    public override void _Ready()
    {
        _danmakuQueue = new Queue<DanmakuQueueEntry>();
        _trackManager = new DanmakuTrackManager();
    }

    public void AddDanmaku(DanmakuQueueEntry entry)
    {
        _danmakuQueue.Enqueue(entry);
        ProcessQueue();
    }

    public override void _Process(double delta)
    {
      if (_danmakuQueue.Count == 0) return;
        // Peek queue and if time passed, spawn a danmaku
        if (Time.GetTicksMsec() > _lastSpawnTime + SpawnInterval)
        {
            // If the next track is available on the track manager
            if (_trackManager.HasTrackSpace())
            {
                var danmakuData = _danmakuQueue.Dequeue();
                _trackManager.AddDanmakuToTrack(danmakuData.Data);
                _lastSpawnTime = Time.GetTicksMsec();
            }
        }
    }
}
This code allows us to queue up danmaku and process them in the _Process method, checking if the track manager has space before spawning. If the track is available, it will dequeue the danmaku and add it to the track manager.
Step 5: Fix Overrun Issue
There is one issue, because the danmaku are using random speeds, faster danmaku would overtake slower ones in the same track, causing overlaps. The same effect is also shown on the Bilibili example above. The fix was to introduce a “speed clip” to ensure that the danmaku speed does not exceed the maximum speed of all danmakus in the track.
The following code is added to the DanmakuTrackManager to check if the track is available:
// Set initial speed, cap the speed to prevent overrun
danmakuData.Speed = Math.Max(GetMaxSpeedInTrack(trackIndex), danmakuData.Speed);
And then we need to implement the GetMaxSpeedInTrack method to get the maximum speed in the track.
private float GetMaxSpeedInTrack(int trackIndex)
{
    var track = _tracks[trackIndex];
    if (track.Count == 0) return 0;

    // Loop through track to get max speed
    return track.Max(entry => entry.Entry.Speed);
}
Step 6: Tieing It All Together
Now we talked about how to implement DanmakuTrackManager, IDanmakuTrackDistributor, DanmakuSystemController and the RichTextDanmakuLabel,
we can now tie it all together in the main game scene.

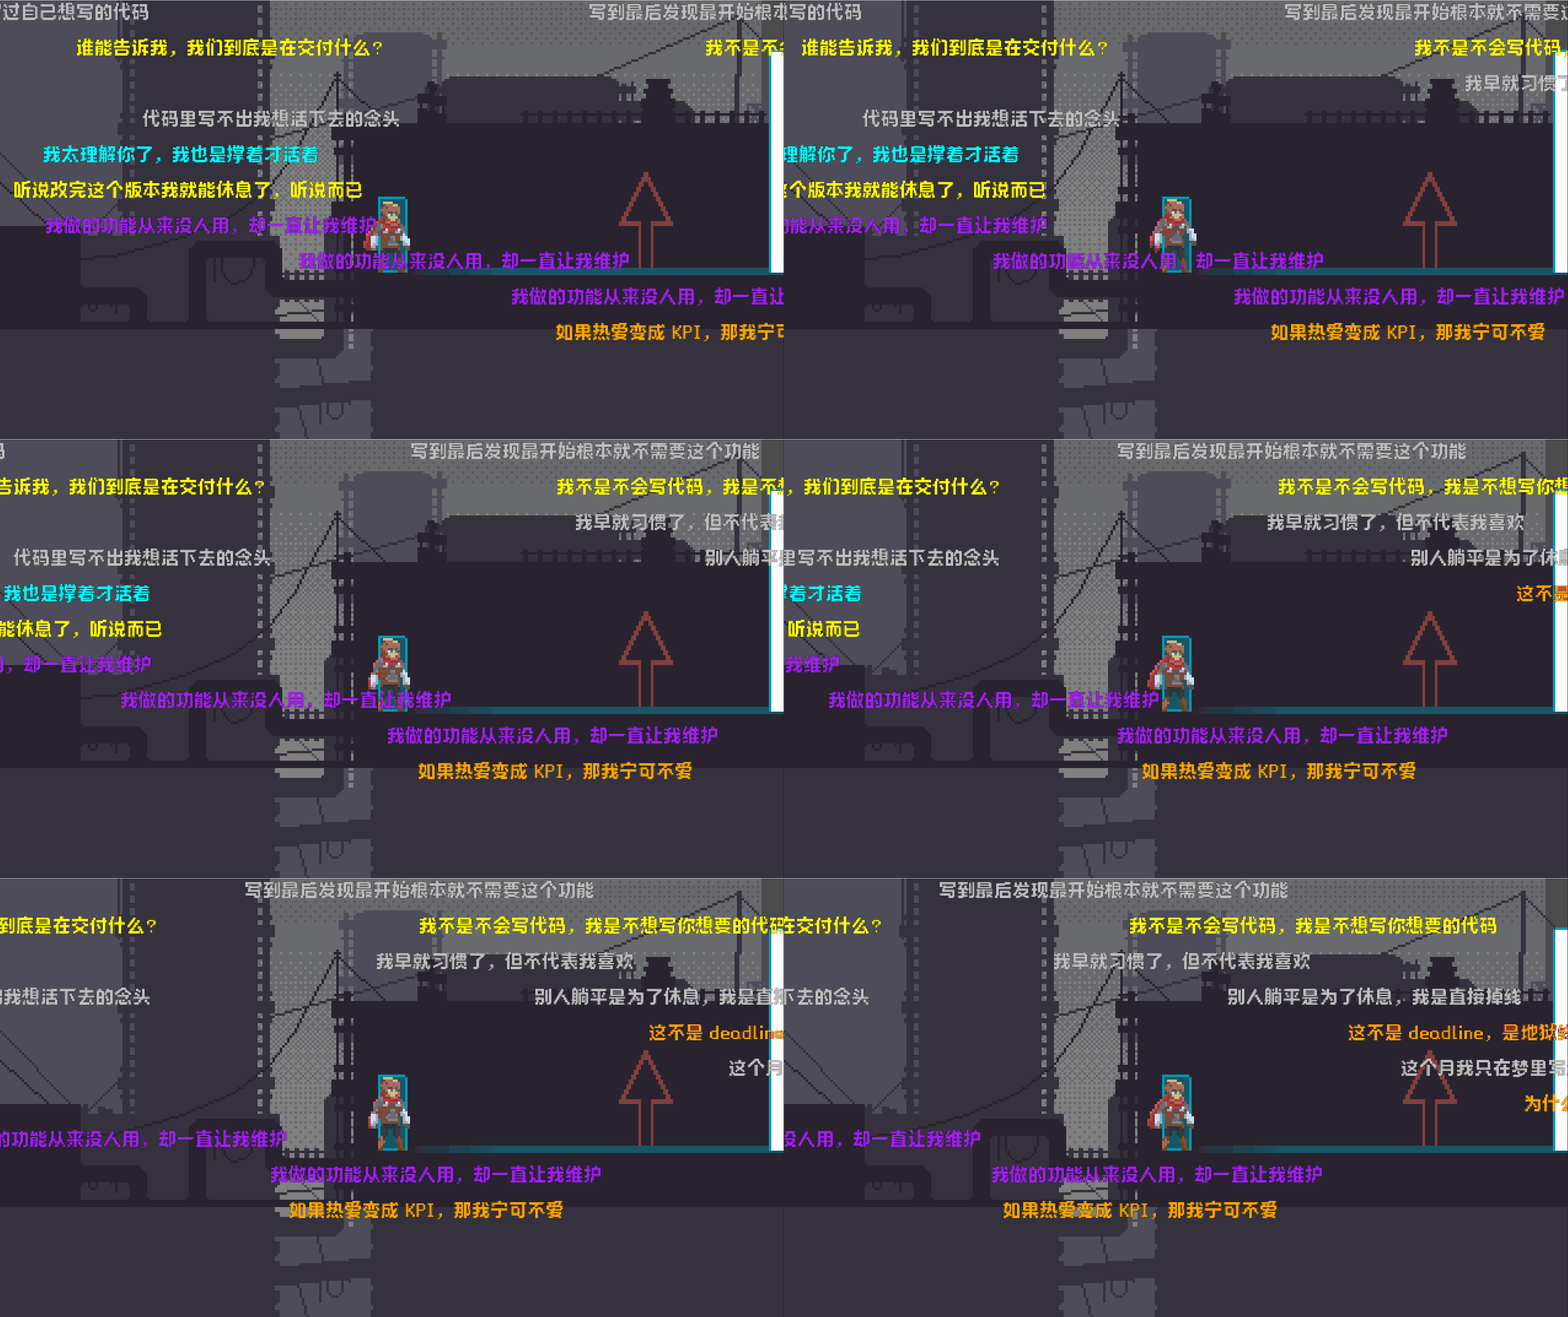
Final Result
Conclusion
The danmaku system is now modular, efficient, and easy to extend. It supports different content types, distributes comments across tracks as needed, and manages spacing to prevent overlaps.
This approach keeps the codebase organized and maintainable, making it easier to add new features or tweak behavior later. Hopefully, this walkthrough gives you a solid starting point for building your own danmaku system in Godot 4 with C#. If you have questions or ideas, let me know—happy coding!